In today’s digital world, it’s important to keep your contacts organized. Outlook 365, a tool by Microsoft, helps with that. You can easily save or share your contact list. This is useful if you’re changing devices, working with others, or just want to keep a backup. In this guide, we’ll show you how to export contact list in Outlook 365 in simple steps.
What are the Reasons Associated With Share Contacts in Outlook 365?
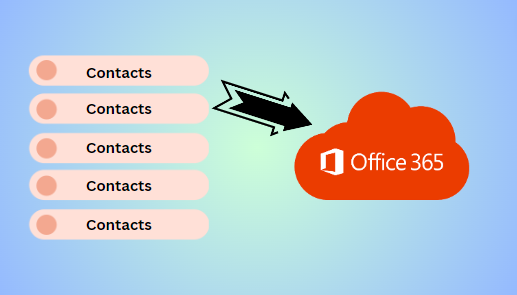
In many scenarios, users want to migrate contact list to Office 365. But do you know what are they? If not, let’s delve into the below points:
- Exporting ensures you have a backup of important contacts for security and peace of mind.
- Simplify transferring contacts to new devices or services, saving time and effort.
- Easily share contact information for collaboration, projects, or personal networking purposes.
- Exported contacts can be integrated into various software, enhancing productivity and workflows.
- Gain control over organizing, filtering, and manipulating contact data outside Outlook 365.
- Safeguard against accidental deletion or corruption by having an exported backup readily available.
Also read: How to Share a Calendar in Outlook 365?
Methods to Manually Export Contact List in Outlook 365
Sharing contacts in Outlook 365 manually is full of complications and error-prone, especially for those who are not familiar with this transition. For the same, one can consider the further mentioned smart solution. Apart from this, for technical users, the steps are given below, just follow them without skipping anyone.
Share Contacts in Outlook 365:
- Log in and access your account using your credentials to begin the process.
- Find and click on the “People” icon or go directly to “Contacts.”
- Choose the contacts you want to export, either individually or all at once.
- Look for an option like “Export” or “Export to file” in the toolbar to export contact list in Outlook 365.
- Select the format (e.g., CSV, VCF) suitable for your needs.
- Decide where to save the exported file on your computer.
- Review settings and click “Export” to initiate the process.
- Once done, receive a confirmation message and access the exported file as needed.
For OWA:
- Sign in to the Outlook Web App with your credentials.
- Navigate to Contacts in the navigation bar or App Launcher.
- Select contacts by Ctrl-clicking or using checkboxes.
- Look for an option to export under “More actions.”
- Choose an export format such as CSV or vCard.
- Follow the prompts to complete the export process.
- Locate and review the exported file on your computer.
Read also: How to Migrate Google Calendar to Office 365 Account?
Quick Solution to Export Contact List in Outlook 365
The SysTools Office 365 to Office 365 Migration Tool can flawlessly share contacts in Outlook 365, ensuring a smooth transition of contacts between Office 365 accounts. Its key features include robust data migration capabilities, allowing users to transfer contact lists with ease while maintaining data integrity.
The tool supports bulk migration, enabling users to export large numbers of contacts efficiently. With its self-explanatory interface and user-friendly design, this solution simplifies the complex task of exporting contact lists. Now, as we know this is an automated solution, so there is a need to perform manual steps as described above. One needs to just download it, and follow the guidelines as mentioned in the next section.
Instructions to Share Contacts in Outlook 365
After downloading the aforementioned solution, just go through the steps to export contact list in Outlook 365:
Step 1. Open the solution, and choose the source & target platforms as Office 365.
Step 2. Within the workload selection select Contacts.
Step 3. Click any of the options given below:
- Migrate Document Permissions
- User Group Mapping
Step 4. Optionally: One can transfer only selective data by using the Date Filter option.
Strep 5. Insert the Admin credentials for source & destination platforms > Validate > Next.
Step 6. For the mapping task, it offers three options i.e. Fetch Users, Import Users, & Download Template.
Step 7. Finally, execute the transition by clicking on the “Start Migration” option.
Additional resources: How to Recover Deleted Contact in Outlook 365?
Bring it All Together
After reading this entire article, we conclude that “export contact list in Outlook 365” is a straightforward task. But only with a specified specialized solution. However, we discussed the manual solutions also but they are not reliable & become time-consuming for those users who are familiar with this migration procedure. So, that’s why this makes it quite necessary to opt for a better and quicker solution as described in this write-up to share contacts in Outlook 365.